


Ultra-Air Documents
Documentation & Support
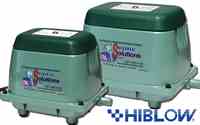
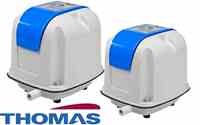
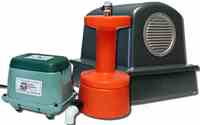
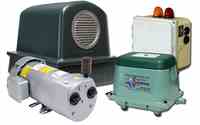
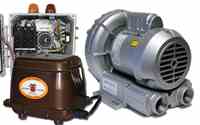
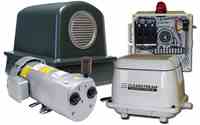
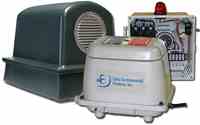
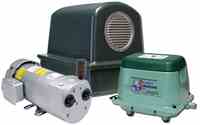
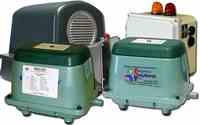
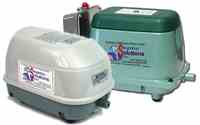
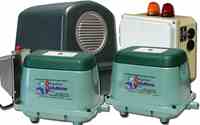
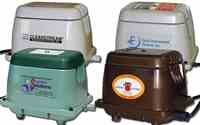
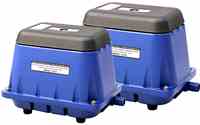
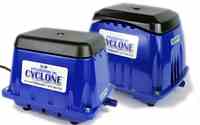
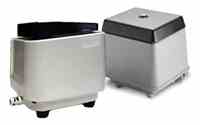
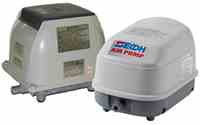
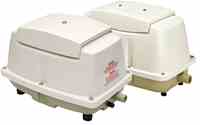
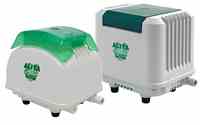
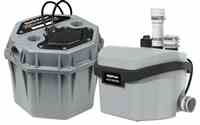
Thank you for your purchase of the Ultra-Air Model 735 Aerator. Below you will find all official documentation in one place — complete installation instructions, operation guidelines, maintenance recommendations, and the full 3-Year Pro-Rated Limited Warranty.
Installation Instructions
Click Here to Download the Complete Installation and Maintenance Guide
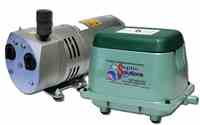
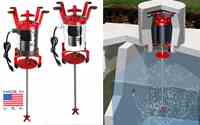
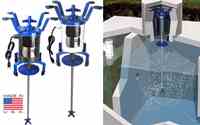
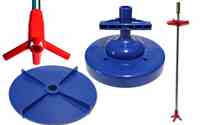
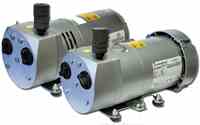
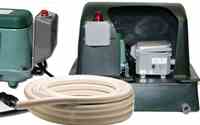
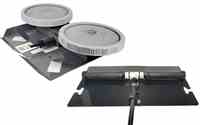
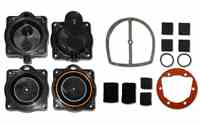
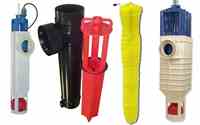
The Ultra-Air ships mostly pre-assembled for your convenience. Please complete these steps before installing:
- 1Remove the cardboard end panels from both ends of the motor assembly.
- 2Lift the motor assembly and shaft out of the shipping box by inserting your fingers through the openings in the cardboard cradles. Caution: Do not lift the unit by the shaft.
- 3Remove the motor and shaft assembly from the cardboard cradles.
- 4Place the motor assembly on a workbench or sturdy surface with the handle facing down and the shaft pointing up.
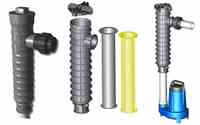
- 5Using a 5/32" Allen wrench, loosen the top two set screws on the brass coupling.
- 6Slide the brass coupling and shaft assembly onto the motor shaft. Push firmly until you hear a distinct click (the shafts are now fully seated).
- 7Hand-tighten all four set screws on the brass coupling securely with the 5/32" Allen wrench.
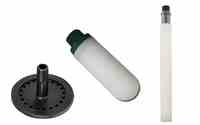
- 8Remove the foam ball and rubber bands from the aspirator end of the shaft.
- 9Grasp the motor assembly by the brackets first, then the handle. Caution: Never lift, carry, or support the unit by the shaft. Avoid twisting or torquing the shaft.
- 10Using the built-in handle, carefully lower the entire assembly into the tank until the upper brackets rest solidly on the riser.
- 11With power turned off, plug the motor into the outlet.
- 12Turn the power back on.
- 13Replace the cover over the motor assembly.
Operation
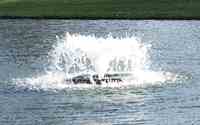
The Ultra-Air Model 735 is designed for continuous operation. While some systems may use a timer for the aerator, we recommend running the unit continuously for best overall life and performance.
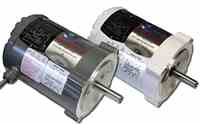
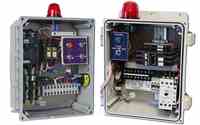
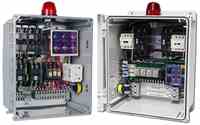
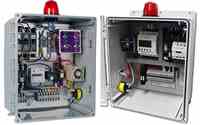
Important: The Ultra-Air Model 735 motor does not have built-in thermal or overload protection. It must be installed on a control panel that contains a 5–7 amp breaker to protect the motor from high current. Failure to install the unit with a compatible control panel will void the warranty.
Maintenance Guide
Proper maintenance is essential to prevent premature motor failure and keep your warranty valid.
Every 2–3 months (or more often if needed):
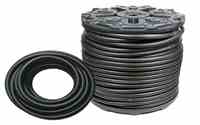
- Clean the stainless steel shaft — remove any debris (toilet paper, hair, wipes, etc.).
- Inspect the aspirator tip and suds restrictor disk — ensure they are present and undamaged.
- Monitor tank water levels — never allow water to reach the motor.
- Test for excessive vibration — shut off immediately if strong vibration occurs.
Handling & Safety
Always turn power off before removing or reinstalling the unit.- Lift the motor assembly only by the brackets and handle. Never lift by the shaft.
- Do not twist or torque the shaft while handling.
Quick Troubleshooting
3-Year Pro-Rated Limited Warranty
Click Here to Download the Complete Pro-Rated Limited Warranty Policy
The complete aerator unit is warranted against defects in material and workmanship for 1 year from the date of purchase. The electric motor is covered for 3 years on a pro-rated basis (after Year 1).
Pro-Rated Motor Replacement Pricing
| Time Period | Discount | Standard Motor | Flood Resistant Motor |
|---|---|---|---|
| Year 1 | 100% COVERAGE | $0.00 | $0.00 |
| Mo 13 – Mo 18 | 35% DISCOUNT | $224.25 | $273.00 |
| Mo 19 – Mo 24 | 25% DISCOUNT | $258.75 | $315.00 |
| Year 3 | 15% DISCOUNT | $293.25 | $357.00 |
Replacement Motor Rule: If a warranty claim is made during the pro-rated portion of the warranty and a replacement motor is purchased at the pro-rated price, the new motor will be covered in full by the limited warranty for a period of 1 year from the date of purchase. After this 1-year period, any remaining warranty coverage will revert to the original purchase terms, if applicable.
Ultra-Air® Model 735 • Septic Solutions, Inc. • Official Documentation