


How To Install A Septic Tank Riser
Installing a septic tank riser kit provides easy access to your septic tank for maintenance and pumping. This guide walks you through the complete installation process for our Septic Tank Riser Kit. Always follow local regulations and consult a professional if you are unsure about any step.
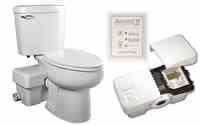
Need assistance purchasing a septic tank riser kit? Click here to see your Septic Tank Risers Buyer's Guide.
Tools & Materials Needed
- Probe (if locating septic tank is required)
- Shovel or excavator for digging
- Masonry drill bit (included)
- Hammer or mallet
- 7/16-inch wrench
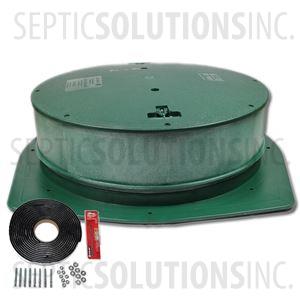
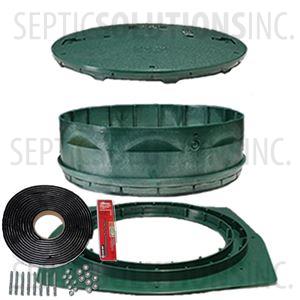
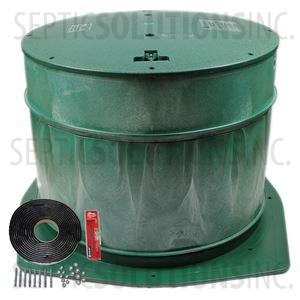
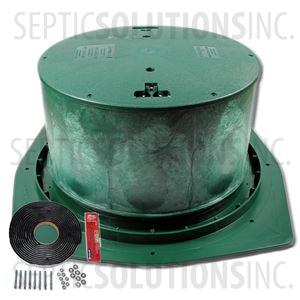
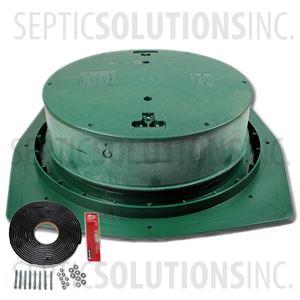
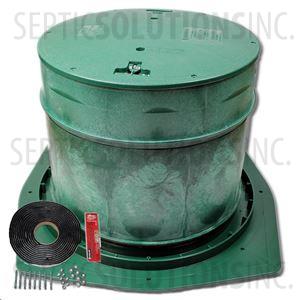
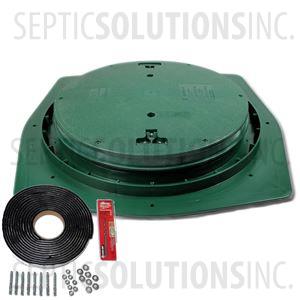
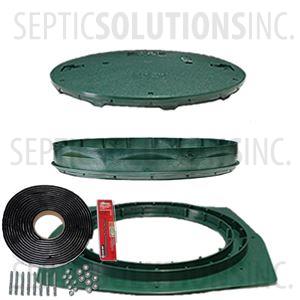
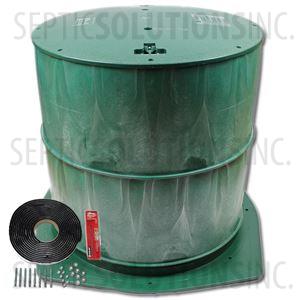
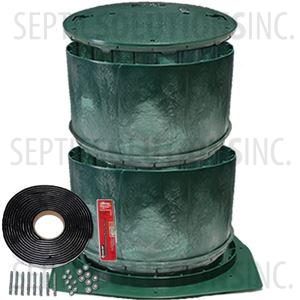
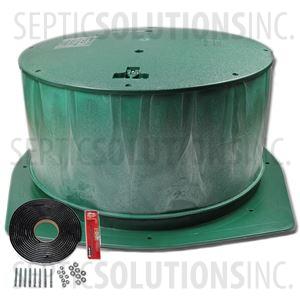
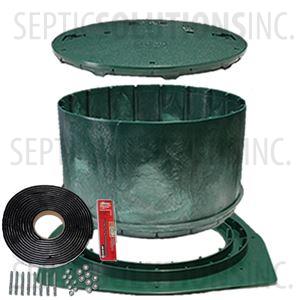
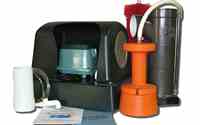
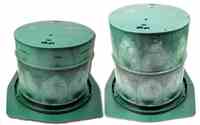
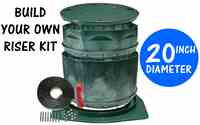
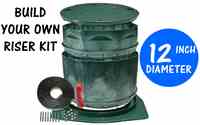
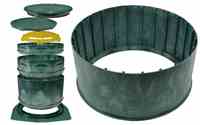
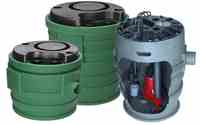
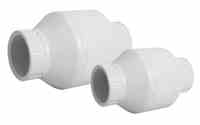
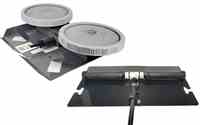
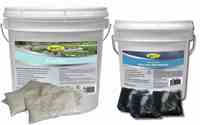
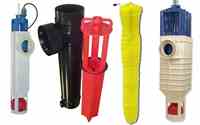
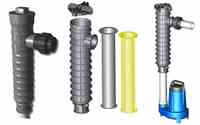
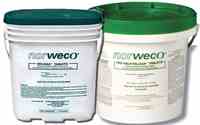
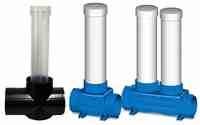
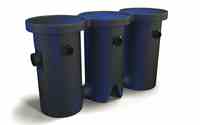
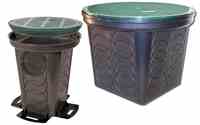
- The Septic Tank Riser Kit (adapter ring, risers, lid, anchors, sealant, screws, etc.)
How to Locate Your Septic Tank
Your septic tank is usually buried somewhere on your property, but over time the exact location can be forgotten. Locating the tank and it's access points is important prior to installing a septic tank riser kit, as you will need to know the dimensions of your opening as well as the depth it is buried to select the correct package to order. Here’s how to find it.
1. Check Your Property Records and Permits
- Start with the original building permits or septic system installation records from when your home was built. These are often available from your county or local health department.
- Look for a “septic as-built diagram” or plot plan — it usually shows the tank’s location relative to your house, driveway, or property lines.
- Many counties keep digital records online or will provide them upon request.
2. Look for Visual Clues on Your Property
Common signs of a septic tank location include:
- Lush green grass or a rectangular patch that grows faster than surrounding areas (especially in dry weather).
- Slight depressions or mounds in the yard where the tank or drain field was installed.
- Cleanout pipes or inspection ports sticking out of the ground.
- The direction of your main sewer line exiting the house — the tank is typically 10–25 feet away from the foundation in that direction.
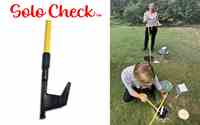
3. Use a Probe or Metal Rod
- Use a thin metal rod or soil probe (available at hardware stores) to gently push into the ground every few feet in the suspected area.
- The tank lid is usually 6–24 inches below the surface. You’ll feel resistance when you hit concrete or the tank lid.
- Be careful not to damage the tank or lines.
4. Follow the Plumbing Lines
- Start from your home’s main sewer cleanout or the point where the plumbing exits the foundation.
- The septic tank is generally located downhill from the house (gravity systems) and within 50 feet in most residential setups.
5. When to Call a Professional
If you can’t locate the tank using the above methods, or if you’re planning major work, call a licensed septic professional. They use specialized tools like:
- Electronic locators
- Camera inspections
- Ground-penetrating radar (in complex cases)
Professional location services are usually inexpensive and prevent costly mistakes.
Step-by-Step Installation Instructions
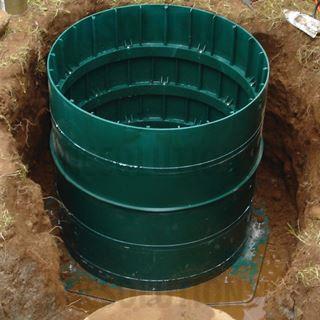
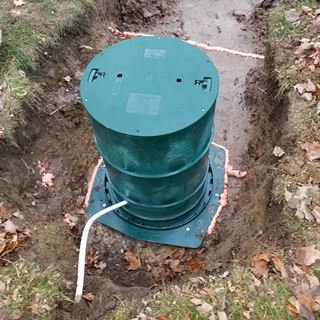
- Dig the Hole Dig a 32-inch by 32-inch hole around your septic tank opening. Center the adapter ring on the opening and use it as a template to drill holes for the concrete anchors using the included masonry drill bit approximately 1 inch deep.
- Install Wedge Anchors Install the wedge anchors into the drilled holes. Lightly tap each anchor with a hammer or mallet. Check that each anchor is locked in place by pulling up on the anchor stud — the anchor should not pull back out.
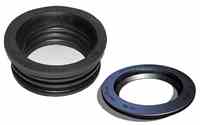
- Apply Sealant Tape Install the sealant tape on the bottom of the adapter ring. The sealant tape must be placed on a larger diameter than your opening and inside the hole pattern of the concrete anchors. Use the grooves on the bottom of the adapter as a guide. Multiple rings of sealant can be used if desired. After applying the sealant, remove the backing from the tape.
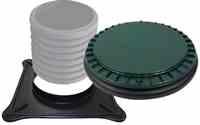
- Place Adapter and Secure Place the adapter onto the tank over the installed anchors. Install a nut and washer on each anchor stud. Hand tighten with a 7/16-inch wrench until snug.
- Install Sealant on Risers Install the sealant rope around the connection point at the bottom of the risers.
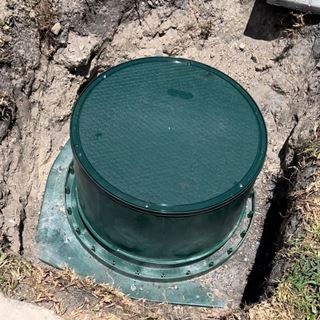
- Attach Riser Sections Snap in the riser section and screw it to the adapter using the included stainless steel screws. Repeat this process with each additional riser section until you reach your desired height.
- Attach the Lid Attach the lid to the top of the riser stack by snapping it in place. Secure it with the provided stainless steel screws.
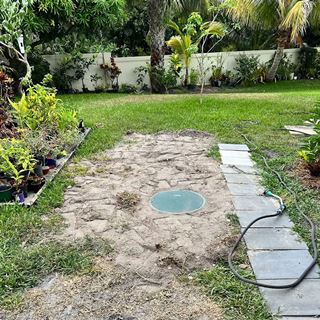
- Backfill The hole can now be backfilled. Ensure the area is properly compacted.
Safety Notes
- Always wear appropriate protective gear (gloves, eye protection, etc.).
- Ensure the work area is stable and safe.
- Follow all local regulations regarding septic system modifications.
- If you are unsure about any part of the installation, consult a licensed septic professional.
Need Help? Contact our technical support team at 877-925-5132 or sales@septicsolutions.com with your order number for assistance. We're here to help ensure your riser installation is successful.